Build Your First IVA in 10 Minutes
Create a simple AI phone assistant that greets callers, answers questions about your business, and says goodbye.
What You’ll Build
By the end of this guide, you’ll have a working call flow with four nodes:
Start --> Query Processor --> End
               ^
               |
         Knowledge Base
The main call path flows from Start through the Query Processor to End. The Knowledge Base connects to the Query Processor as a data source, giving the AI information to answer questions.
Your IVA will:
- Answer the phone with a custom greeting
- Use AI to understand and respond to caller questions
- Access your company website to answer questions accurately
- End the call politely when the conversation is complete
Time required: About 10 minutes
Prerequisites
Before you begin, make sure you have:
- A Flowyte account (sign up at flowyte.com if you don’t have one)
- Access to the IVA Builder at iva.flowyte.com
- Your company website URL (the AI will learn from this)
Step 1: Create a New Flow
-
Go to iva.flowyte.com and sign in to your account
-
Look at the top toolbar and find the dropdown that says Select Flow
-
Click the Select Flow dropdown
-
From the menu that appears, click New Flow
-
In the dialog that opens:
- Type a name for your flow in the Flow Name field (example: “My First IVA”)
- Optionally add a description
- Click the Create Flow button
-
You should see a success notification and the canvas area will show “Build Your IVA Call Flow”

Step 2: Create Your AI Agent
Before your flow can work, you need to create an AI agent that will power the conversations.
-
Look at the left sidebar and find the Agent tab (next to “Chat”)
-
Click the Agent tab to open the agent panel
-
You’ll see a message saying “No Agents Available” with a Create Agent button
-
Click the Create Agent button
-
In the dialog that opens:
- Enter a name for your agent in the Agent Name field (example: “Customer Support Agent”)
- Click the Create Agent button
-
Wait a moment while your agent is created. You’ll see a success notification when complete.
-
Configure Voice & Language - Click the agent settings to open the configuration panel, then click the Voice & Language button to select your agent’s voice.

Note: The agent will automatically use the greeting from your Start node once you configure it. For detailed voice and language configuration, see Voice & Language Configuration.
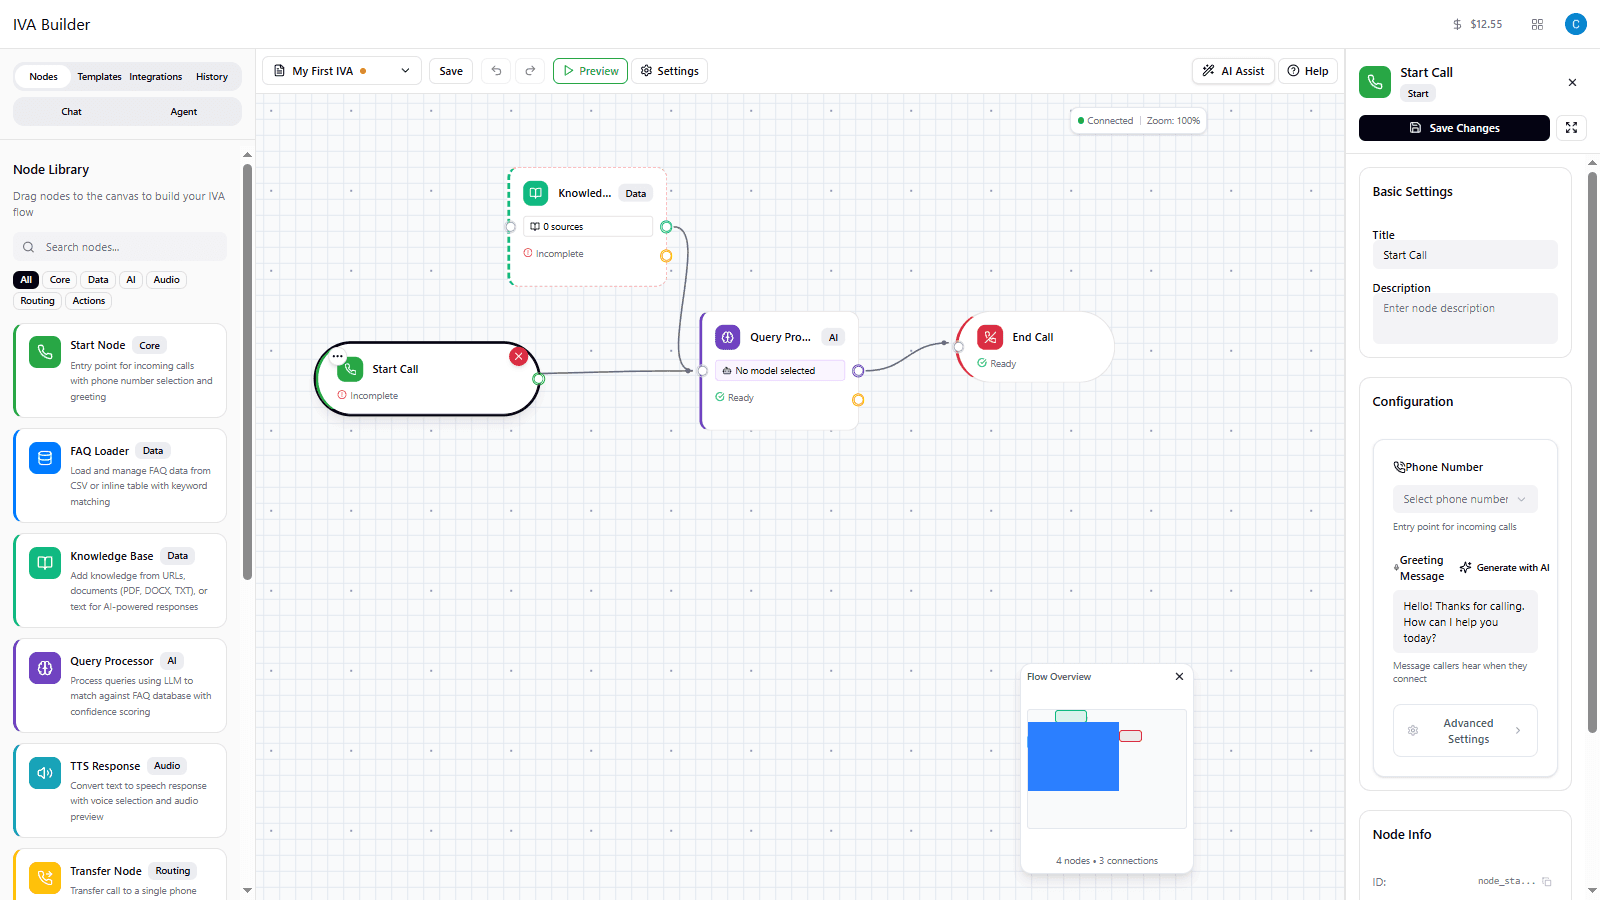
Step 3: Add the Start Node
The Start node is the entry point for every call. It plays a greeting when callers connect.
-
Click the Nodes tab in the left sidebar to return to the Node Library
-
Find the Start Node card (it’s at the top, labeled “Core”)
-
Click and drag the Start Node card onto the canvas area in the center of the screen
-
Release the mouse button to drop the node on the canvas
-
You should see a notification saying “start node added” and the node will appear on the canvas with a status of “Incomplete”

Step 4: Configure the Start Node
Now let’s add a greeting message to your Start node.
-
Click on the Start node on the canvas to select it
-
The Properties Panel will open on the right side of the screen
-
You’ll see sections for “Basic Settings” and “Configuration”
-
Find the Greeting Message field under Configuration
-
Type your welcome message:
Hello! Thanks for calling. How can I help you today? -
Click the Save Changes button at the top of the properties panel
-
The button will briefly show “Saved!” to confirm your changes
Tip: Keep your greeting brief - under 15 seconds. End with a question to prompt the caller to speak.
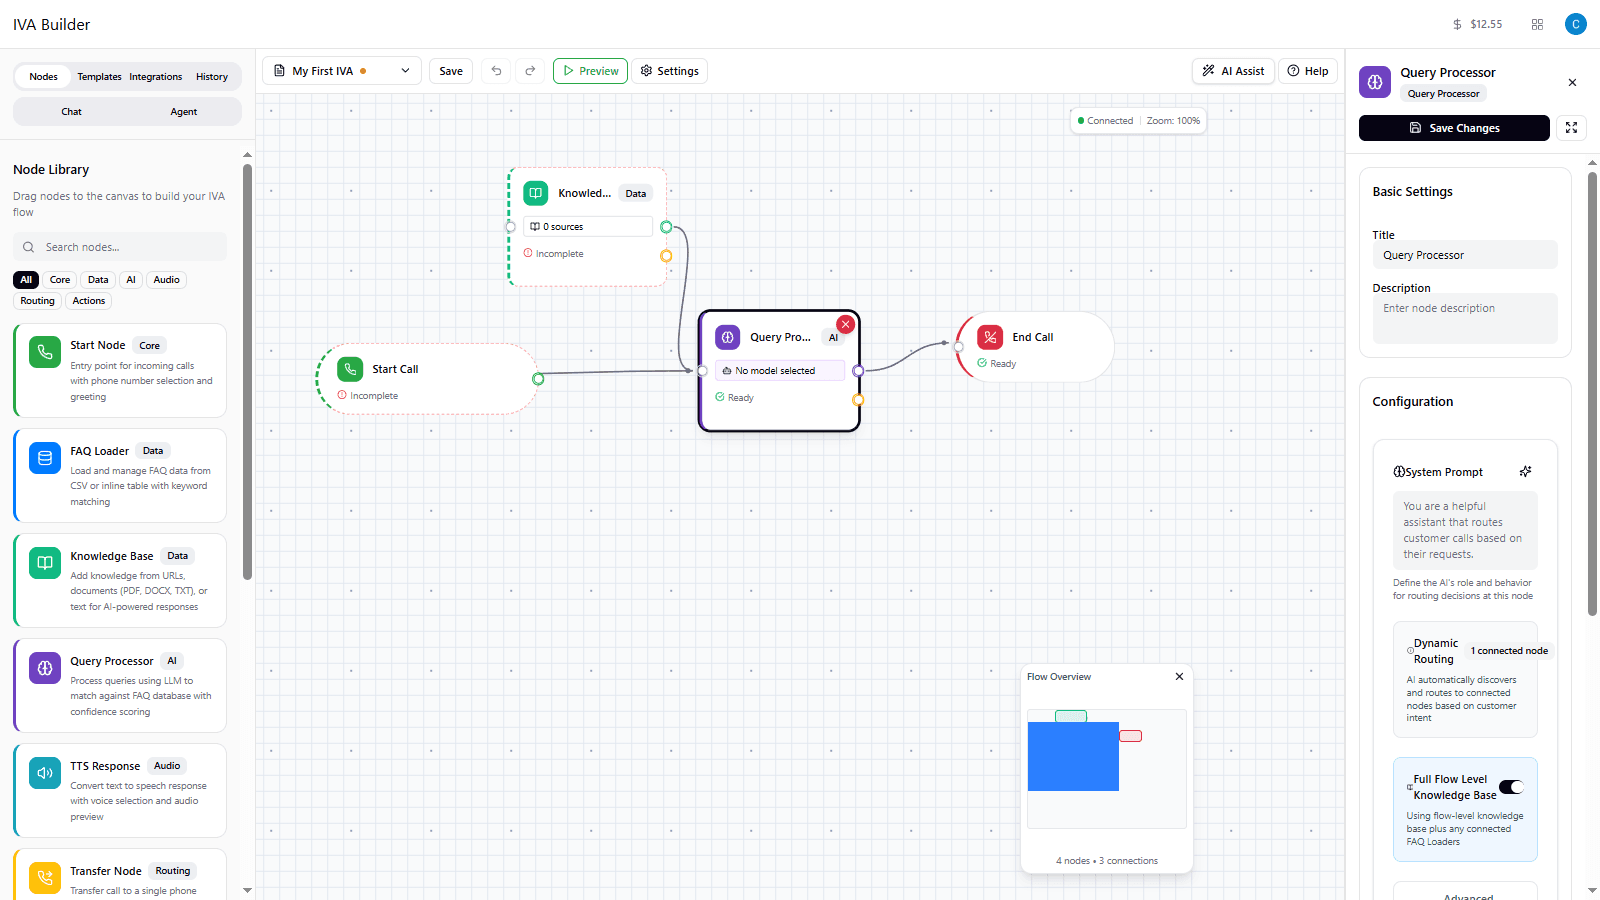
Step 5: Add the Query Processor Node
The Query Processor is the “brain” of your IVA. It listens to callers and uses AI to respond intelligently.
-
In the Node Library (left sidebar), scroll down to find Query Processor (labeled “AI”)
-
Drag the Query Processor node onto the canvas, placing it to the right of your Start node
-
You should see a notification saying “query-processor node added”
-
The node will show “Ready” status and display “gpt-4o-mini” indicating the AI model

Step 6: Configure the Query Processor
Let’s customize how the AI behaves.
-
Click on the Query Processor node on the canvas
-
In the Properties Panel, find the System Prompt field
-
Replace the default text with instructions for your AI:
You are a friendly customer service assistant. Answer questions helpfully and concisely. If you don't know the answer, politely say so. When the customer is done, route them to end the call. -
Leave the other settings at their defaults:
- Full Flow Level Knowledge Base: ON (checked)
- AI Model will use the fast, cost-effective option
-
Click Save Changes
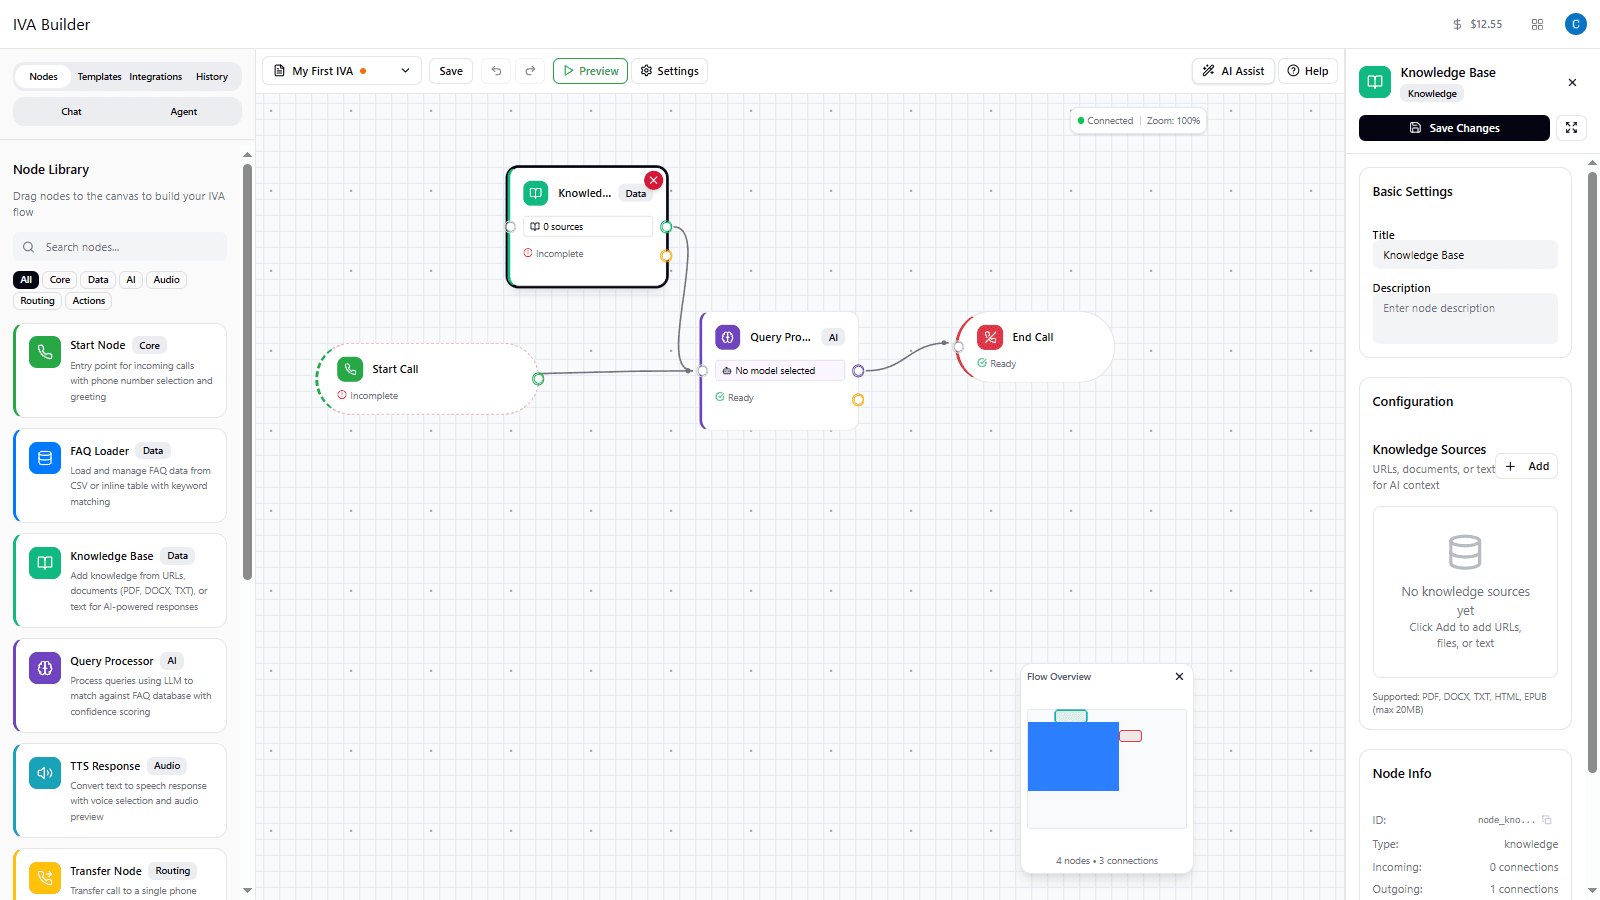
Step 7: Add the Knowledge Base Node
The Knowledge Base node gives your AI information about your business by reading your website. It connects to the Query Processor as a data source.
-
In the Node Library (left sidebar), find Knowledge Base (labeled “Data”)
-
Drag the Knowledge Base node onto the canvas, placing it below the Query Processor
-
You should see a notification saying “knowledge node added”
-
The node will show “Incomplete” status and display “0 sources”
Step 8: Configure the Knowledge Base
Let’s add your company website so the AI can answer questions about your business.
-
Click on the Knowledge Base node on the canvas
-
In the Properties Panel, you’ll see a Knowledge Sources section
-
Click the Add button to expand the node for editing
-
You’ll see three options: Add URL, Add Text, and Upload File
-
Click Add URL
-
Two text fields will appear:
- In the first field (Source name), type a descriptive name like:
Company Website - In the second field, enter your website URL:
https://yourcompany.com
- In the first field (Source name), type a descriptive name like:
-
Click Save Changes
-
The node will now show “1 source” instead of “0 sources”
Tip: For best results, link to specific pages like your FAQ, About, or Services pages rather than just your homepage.
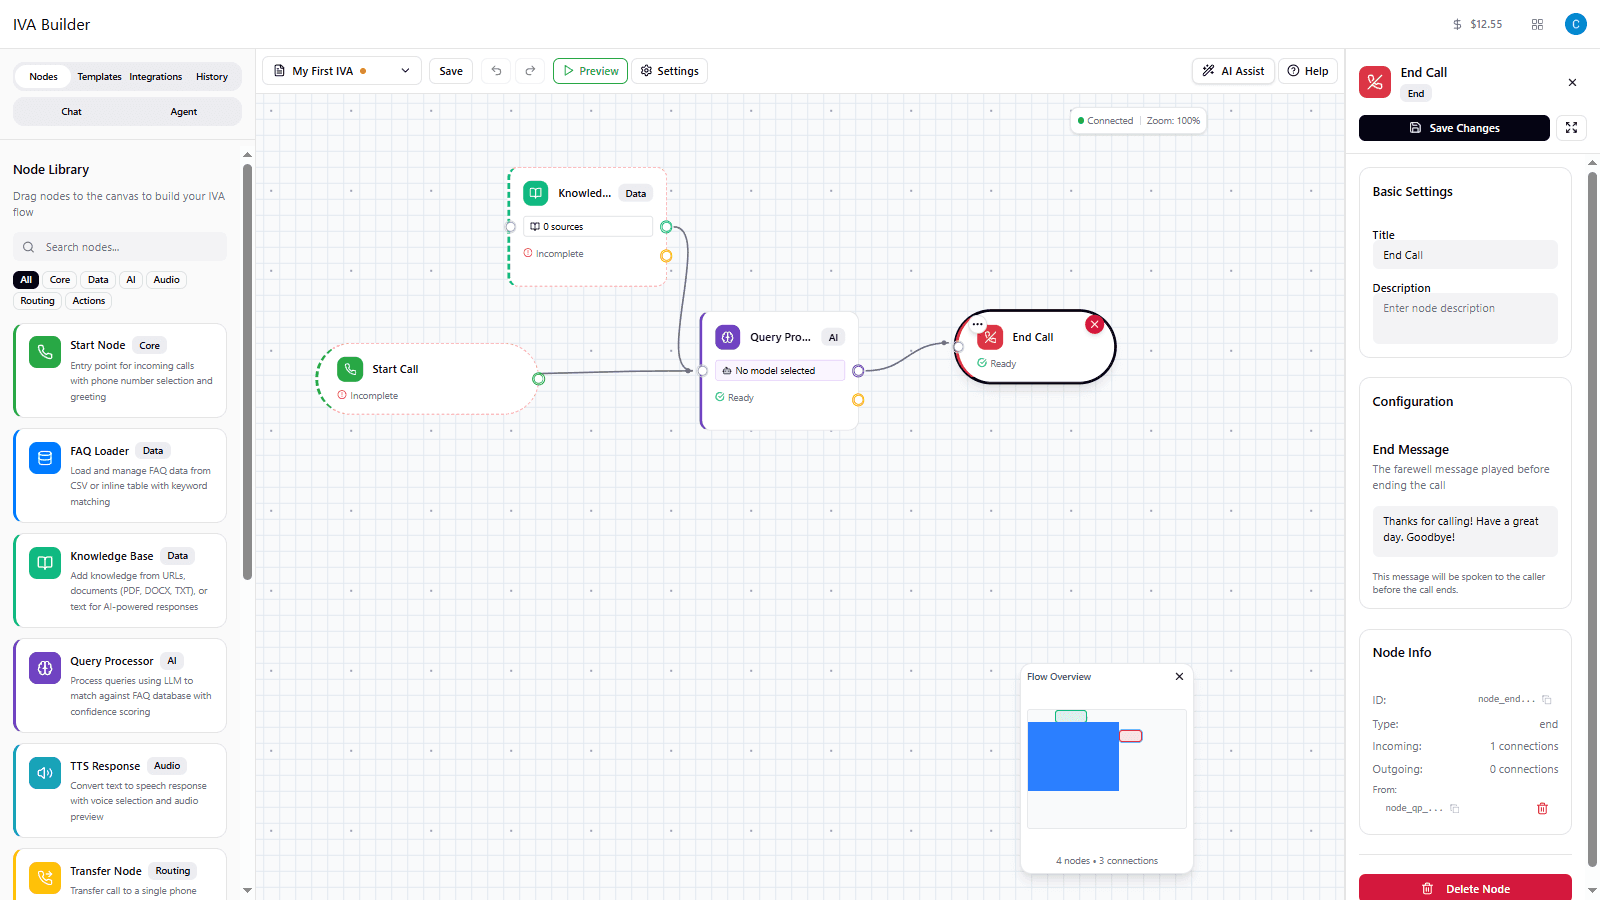
Step 9: Add the End Node
The End node gracefully concludes the call with a farewell message.
-
In the Node Library, scroll down to find End Node (labeled “Core”)
-
Drag the End Node onto the canvas, placing it to the right of the Query Processor
-
You should see a notification saying “end node added”
-
Click on the End node to select it
-
In the Properties Panel, find the End Message field
-
Type your goodbye message:
Thanks for calling! Have a great day. Goodbye! -
Click Save Changes
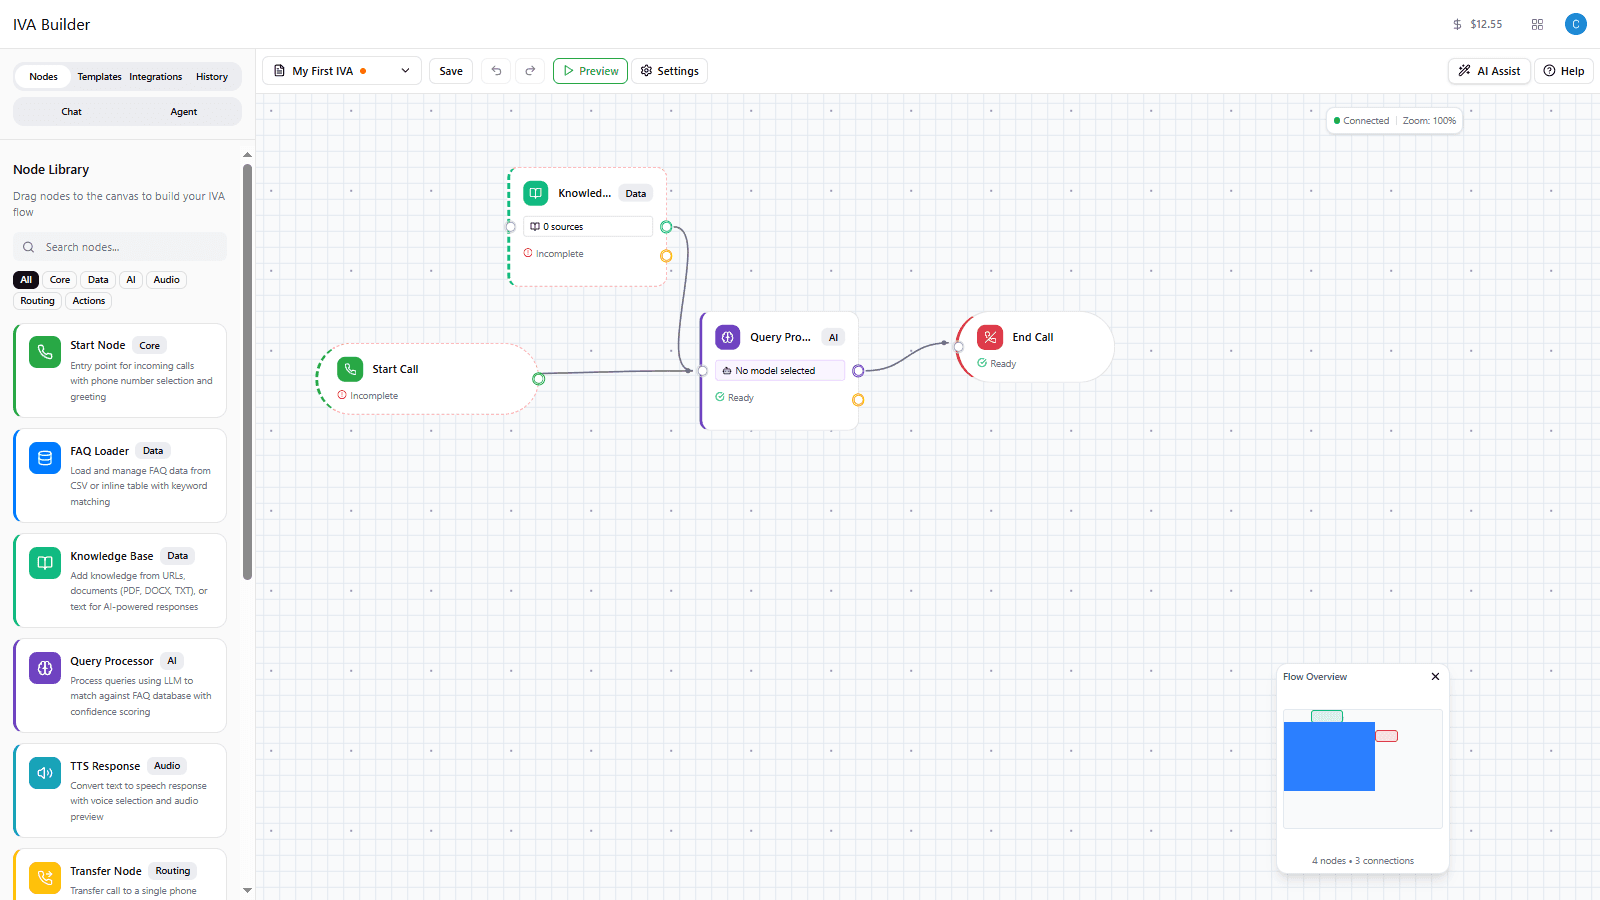
Step 10: Connect the Nodes
Now we need to connect the nodes so calls flow through your entire IVA.
-
Look at the Start node on the canvas - you’ll see a small circular handle on its right side (the output)
-
Click and drag from the Start node’s output handle toward the Query Processor
-
Drag the connection line to the left side of the Query Processor (its input handle)
-
Release to create the connection - you’ll see a line connecting the two nodes
-
Now connect Query Processor to End node:
- Drag from the Query Processor’s output handle (right side)
- Drop on the End node’s input handle (left side)
-
Finally, connect Knowledge Base to Query Processor:
- Drag from the Knowledge Base output handle (right side)
- Drop on the Query Processor input handle (left side)
- This gives the Query Processor access to your business information
-
Check the status bar at the bottom - it should now show “4 nodes - 3 connections”

Tip: If you make a mistake, click on a connection line and press Delete to remove it, then try again.
Step 11: Save Your Flow
Before testing, let’s save the entire flow:
-
Click the Save button in the top toolbar (next to your flow name)
-
Wait for the save to complete
Step 12: Test Your Flow
Use the built-in chat tester to verify your flow works.
-
Look for the Chat tab in the left sidebar (next to “Nodes”)
-
Click the Chat tab to open the test panel
-
The chat panel simulates a phone conversation with your IVA
-
Type a test message like:
What services do you offer? -
Press Enter or click Send
-
Watch how your AI responds! It should give a helpful reply based on your website content
-
Try a few more messages:
- Ask questions about your business
- Say “goodbye” or “I’m done” to see if it routes to the end

What to look for:
- Does the AI respond in a friendly, helpful way?
- Are the responses relevant to what you asked?
- Does the AI use information from your website?
- If something seems off, go back and adjust your System Prompt in the Query Processor
Congratulations!
You’ve just built your first IVA flow! Here’s what you accomplished:
- Created a new flow in the IVA Builder
- Created an AI agent to power conversations
- Added and configured a Start node with a greeting
- Set up a Knowledge Base with your company website
- Configured a Query Processor with AI instructions
- Added an End node with a goodbye message
- Connected all the nodes together
- Tested your flow with the chat tester
Go Live: Assign a Phone Number
When you’re ready to receive real calls, you’ll need to assign a phone number to your flow.
-
Click on the Start node on the canvas to select it
-
In the Properties Panel, find the Phone Number dropdown under Configuration
-
Click the dropdown - you’ll see options:
- Any phone numbers already in your account
- + Add new number to purchase a new number
-
Select an existing phone number, or click + Add new number to get one
-
Click Save Changes
-
Your IVA is now live! Callers who dial that number will reach your AI assistant.
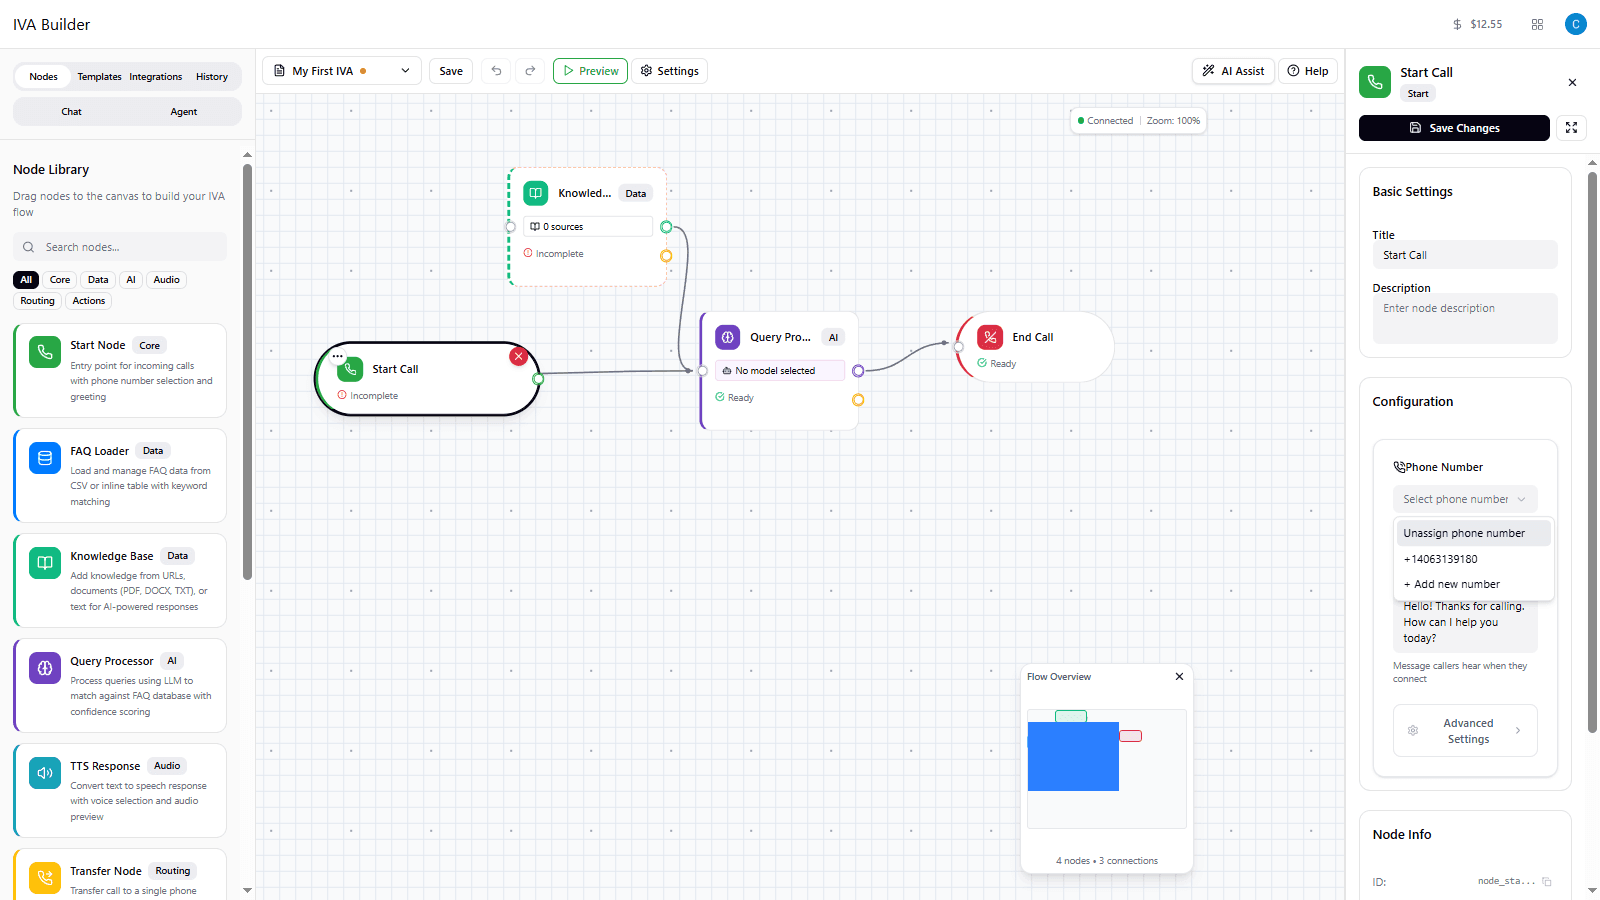
Important: Make sure your flow is fully tested before assigning a phone number. Real callers will interact with your IVA immediately.
Next Steps
Now that you have a basic flow working, here are some ways to make it even better:
Configure Voice & Language
Customize your agent’s voice and language settings:
- Multi-language support - Enable your agent to speak in multiple languages
- Voice selection - Choose from dozens of professional AI voices
- Voice tuning - Adjust stability, similarity, and speaking speed
Learn more about Voice & Language Configuration
Add More Knowledge
Expand what your AI knows:
- Add more URLs - Link to your FAQ page, pricing page, or product pages
- Upload documents - Add PDF brochures, policy documents, or manuals
- Add custom text - Enter specific information like business hours or contact details
Learn more about Knowledge Base
Add Structured FAQs
For common questions with specific answers:
- FAQ Loader - Add explicit question/answer pairs your AI can reference
Transfer to Human Agents
Route callers to real people when needed:
- Transfer Node - Send calls to a specific phone number
- Conditional Transfer - Route to different departments based on what the caller needs
Learn more about Transfer | Learn more about Conditional Transfer
Capture Caller Information
Collect voicemails, leads, or support tickets:
- Notification Node - Gather caller information and send email notifications
Common Questions
Why does my Start node show “Incomplete”?
The Start node shows “Incomplete” until you add a greeting message. Click on the node, add your greeting text, and click Save Changes.
Why isn’t my AI using the right information?
Check that:
- Your System Prompt clearly explains what the AI should do
- The “Full Flow Level Knowledge Base” toggle is ON in the Query Processor
- Your Knowledge Base has at least one source with valid content
- The Knowledge Base node output is connected to the Query Processor input
Why does my Knowledge Base show “0 sources”?
You need to add at least one URL, file, or text source:
- Click on the Knowledge Base node
- Click the Add button
- Choose Add URL, Add Text, or Upload File
- Enter your content and save
How do I delete a node?
Click on the node to select it, then click Delete Node at the bottom of the Properties Panel. Or select the node and press the Delete key.
How do I delete a connection?
Click on the connection line to select it, then press the Delete key.
Where do I create an agent?
- Click the Agent tab in the left sidebar
- Click the Create Agent button
- Enter a name and click Create Agent
How do I change my agent’s voice?
- Click the Agent tab in the left sidebar
- Open your agent’s settings
- Click the Voice & Language button in the Voice Configuration section
- Select your languages, then choose a compatible voice
For detailed voice configuration options, see Voice & Language Configuration.
Need Help?
- Documentation: Browse our complete node documentation for detailed guides
- Support: Contact support@flowyte.com for assistance
Happy building!